Introduction
The "My Loads" module allows you to create and assign loads to drivers that have been added to your fleet. You can also utilize the Fleet Schedule to get a better idea of when your drivers will be finished moving a load and assign new loads more effectively.
Summary
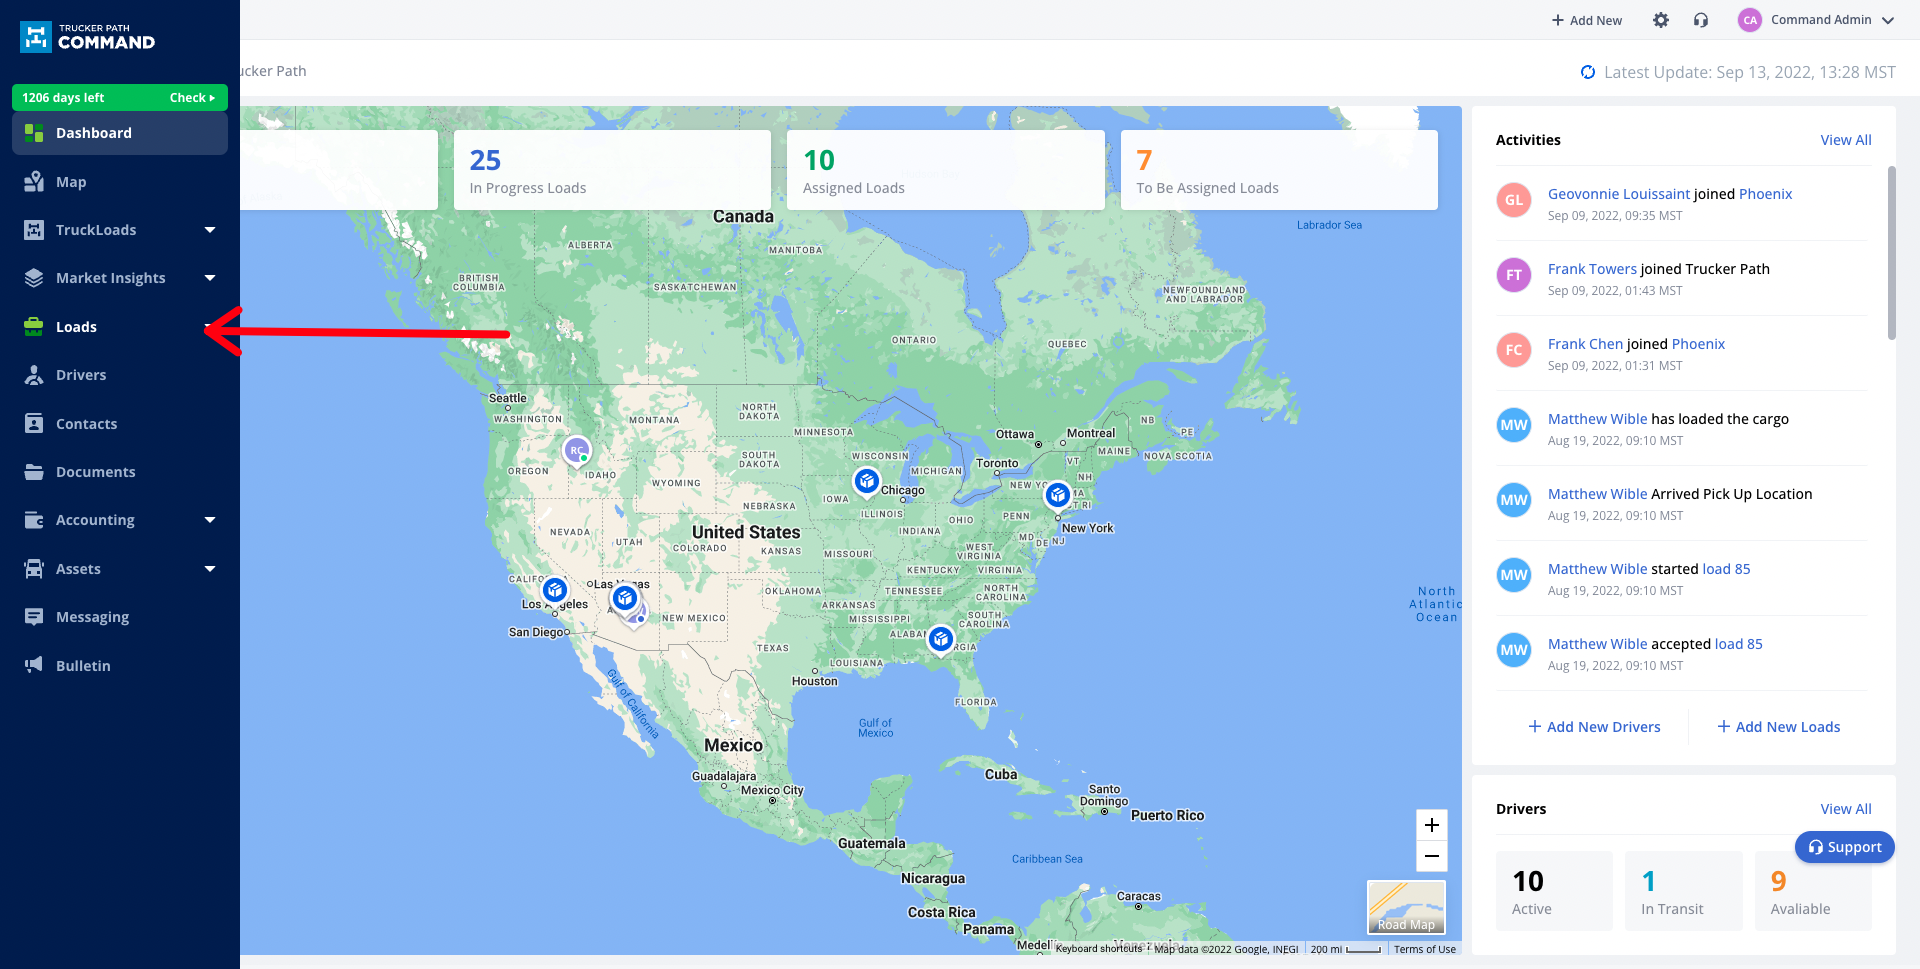
Access the Loads module by clicking the Loads on the left-hand side of the screen.
My Loads
From the My Loads tab, you are able to create and assign new loads, see the current status of in-transit loads, and view the overall information of every load that has been added to the system.

Load Details Page
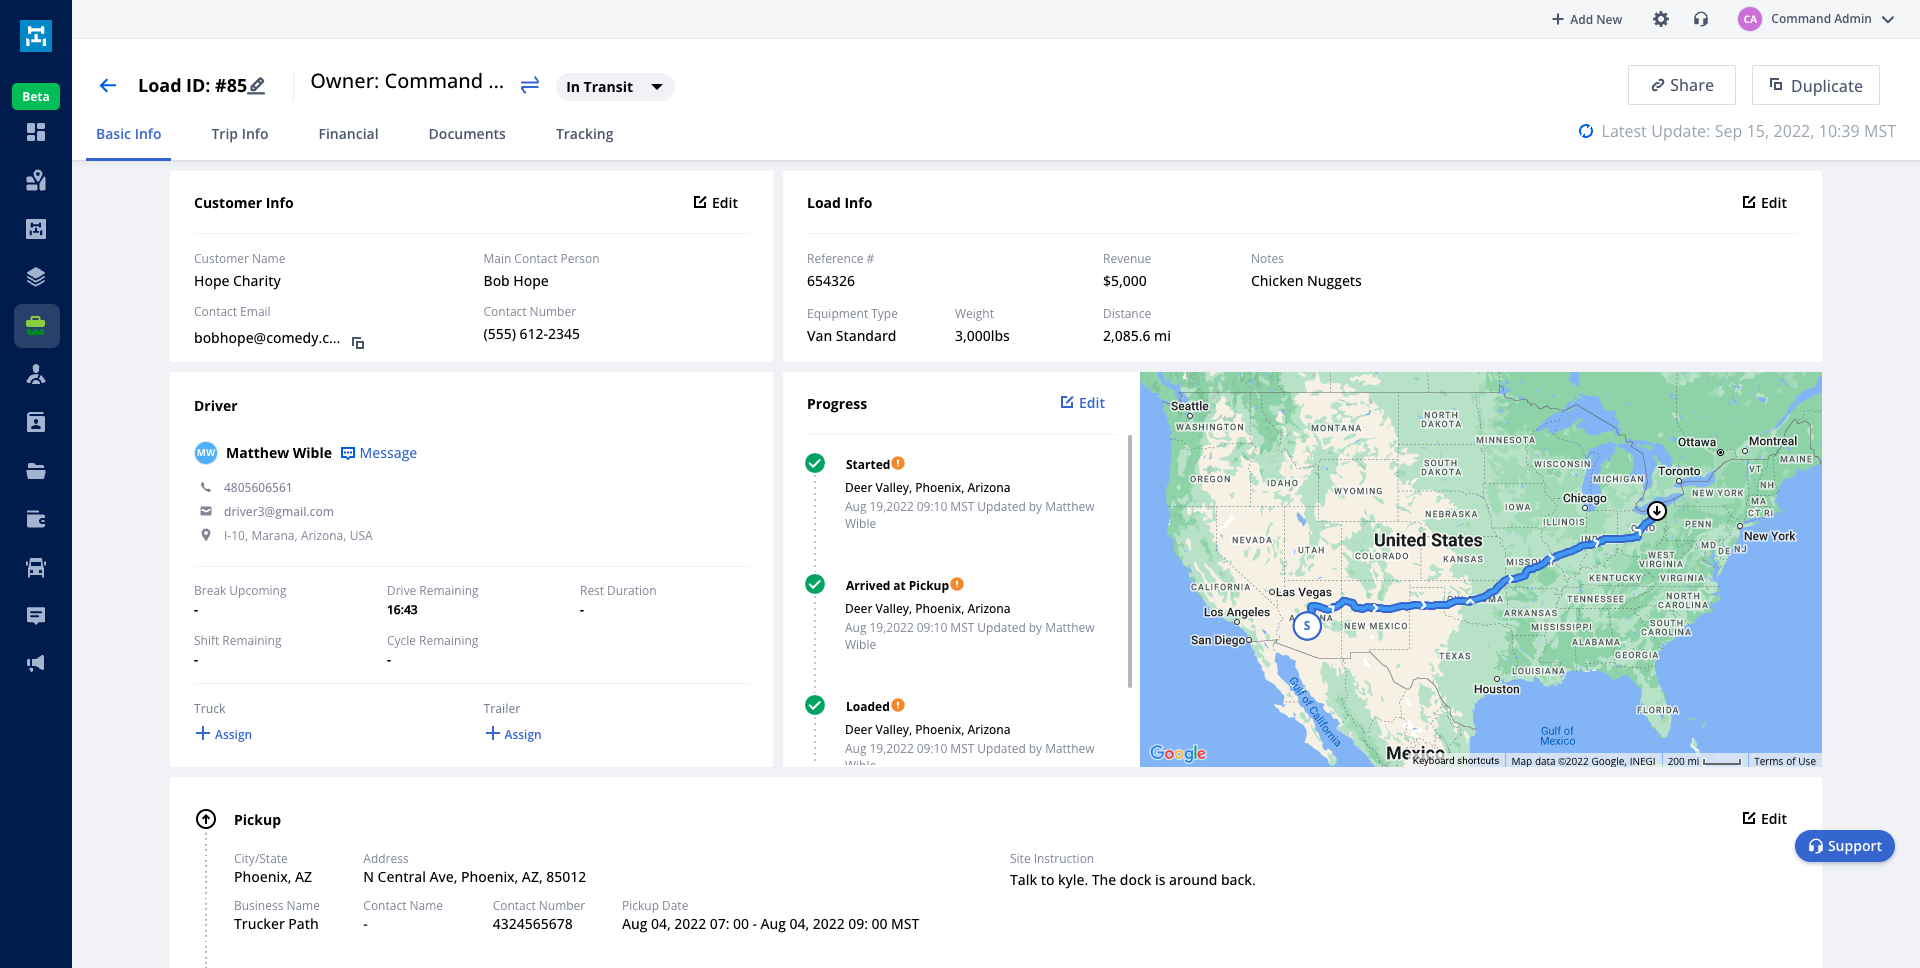
Click on a load to view the load details page .
Basic Info
This will show you the customer info, load info, assigned driver, load status, and the specific pickup and delivery information.
Trip Info
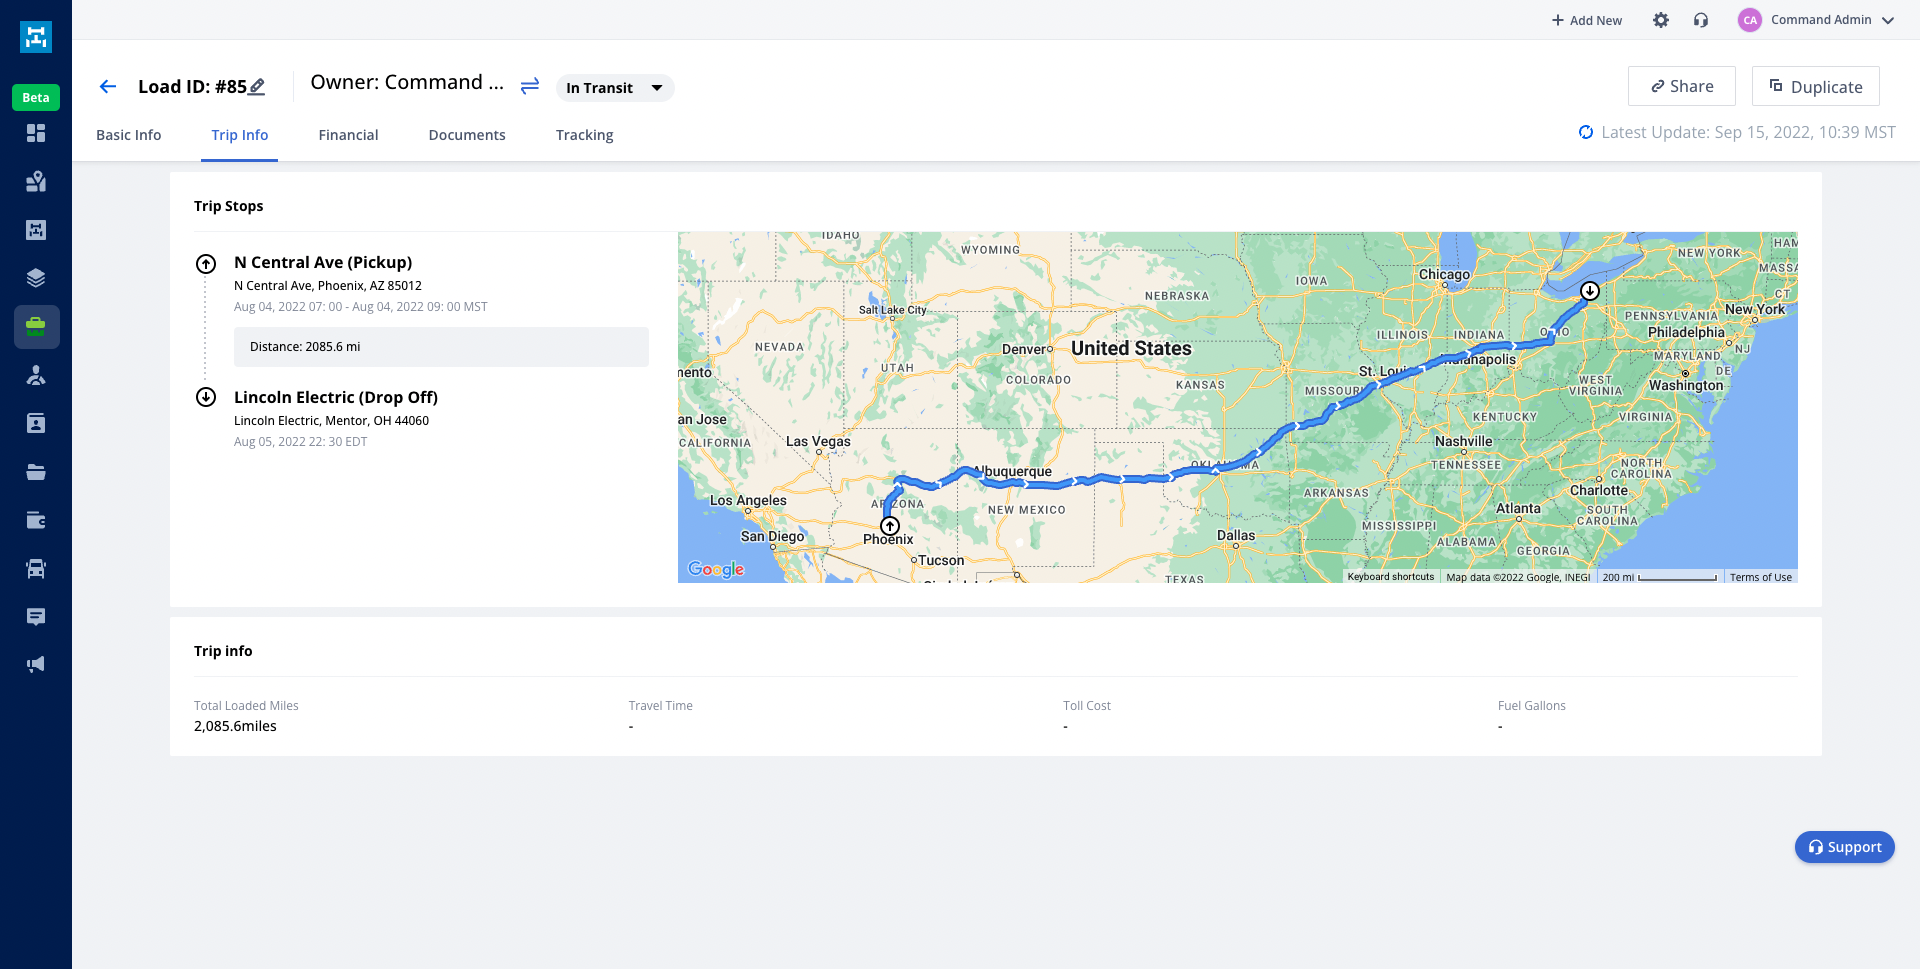
The Trip Info page will show the locations for pickup and delivery as well as the assigned times for when the driver should be at each location. You can also see the total loaded miles, travel time, toll cost, and estimated fuel cost, as well as an overview of the route on the right.
Financial
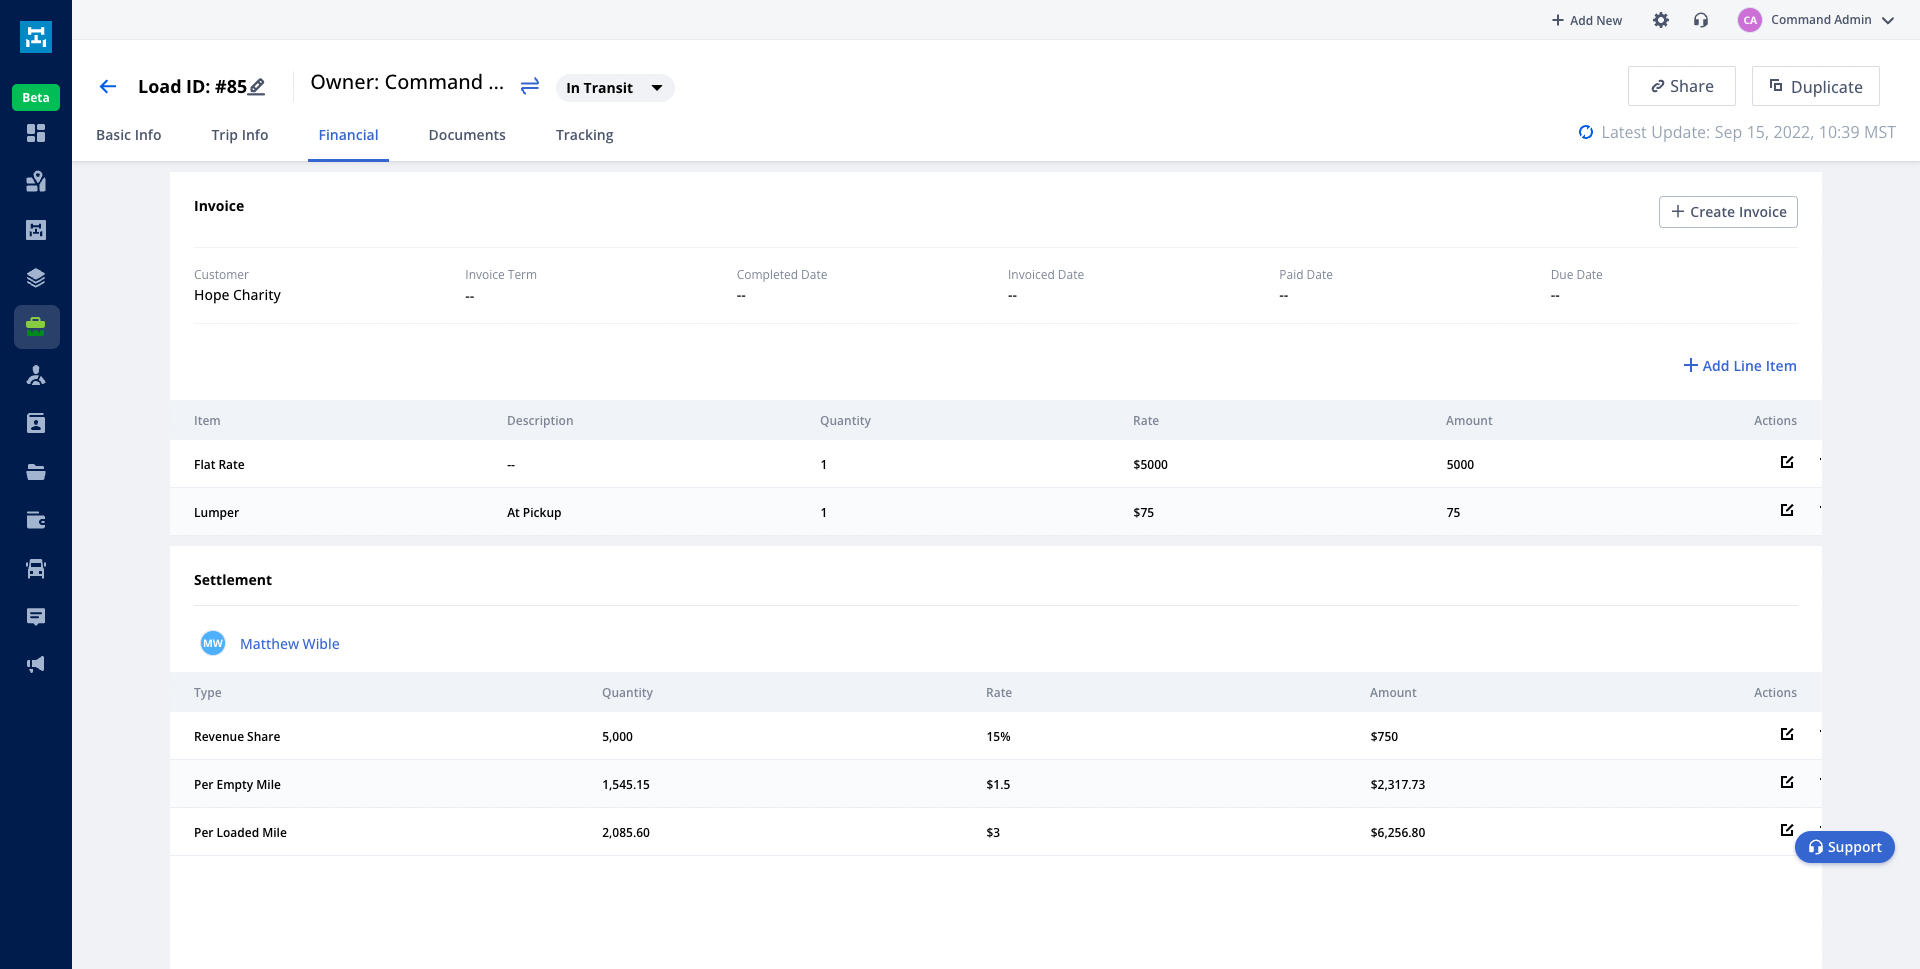
The financial tab will allow you to summarize all of the rates and amounts needed to move the load. From here you can generate an invoice to send to the customer as well as a driver settlement to send to the driver.
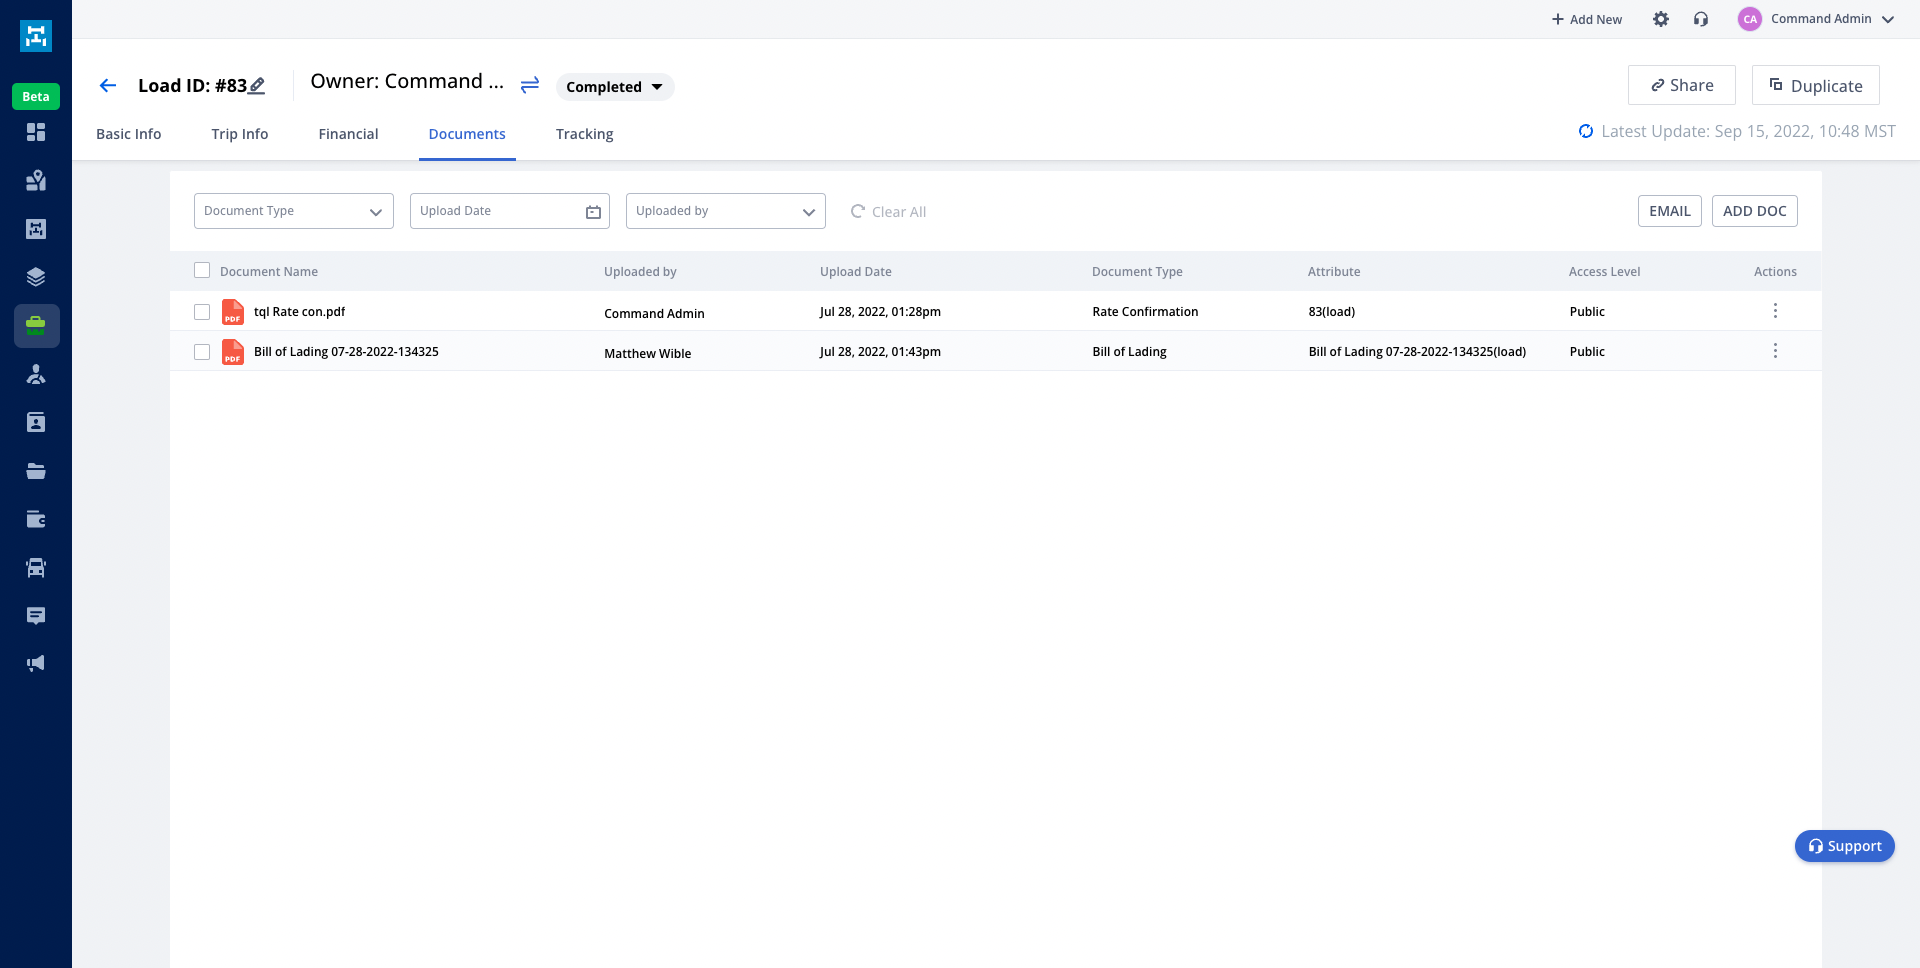
Documents
The Documents tab will show all documents attached to that load. These can be uploaded by either the driver or the dispatcher. From here you can email the individual documents by clicking the Email button in the upper right-hand corner.
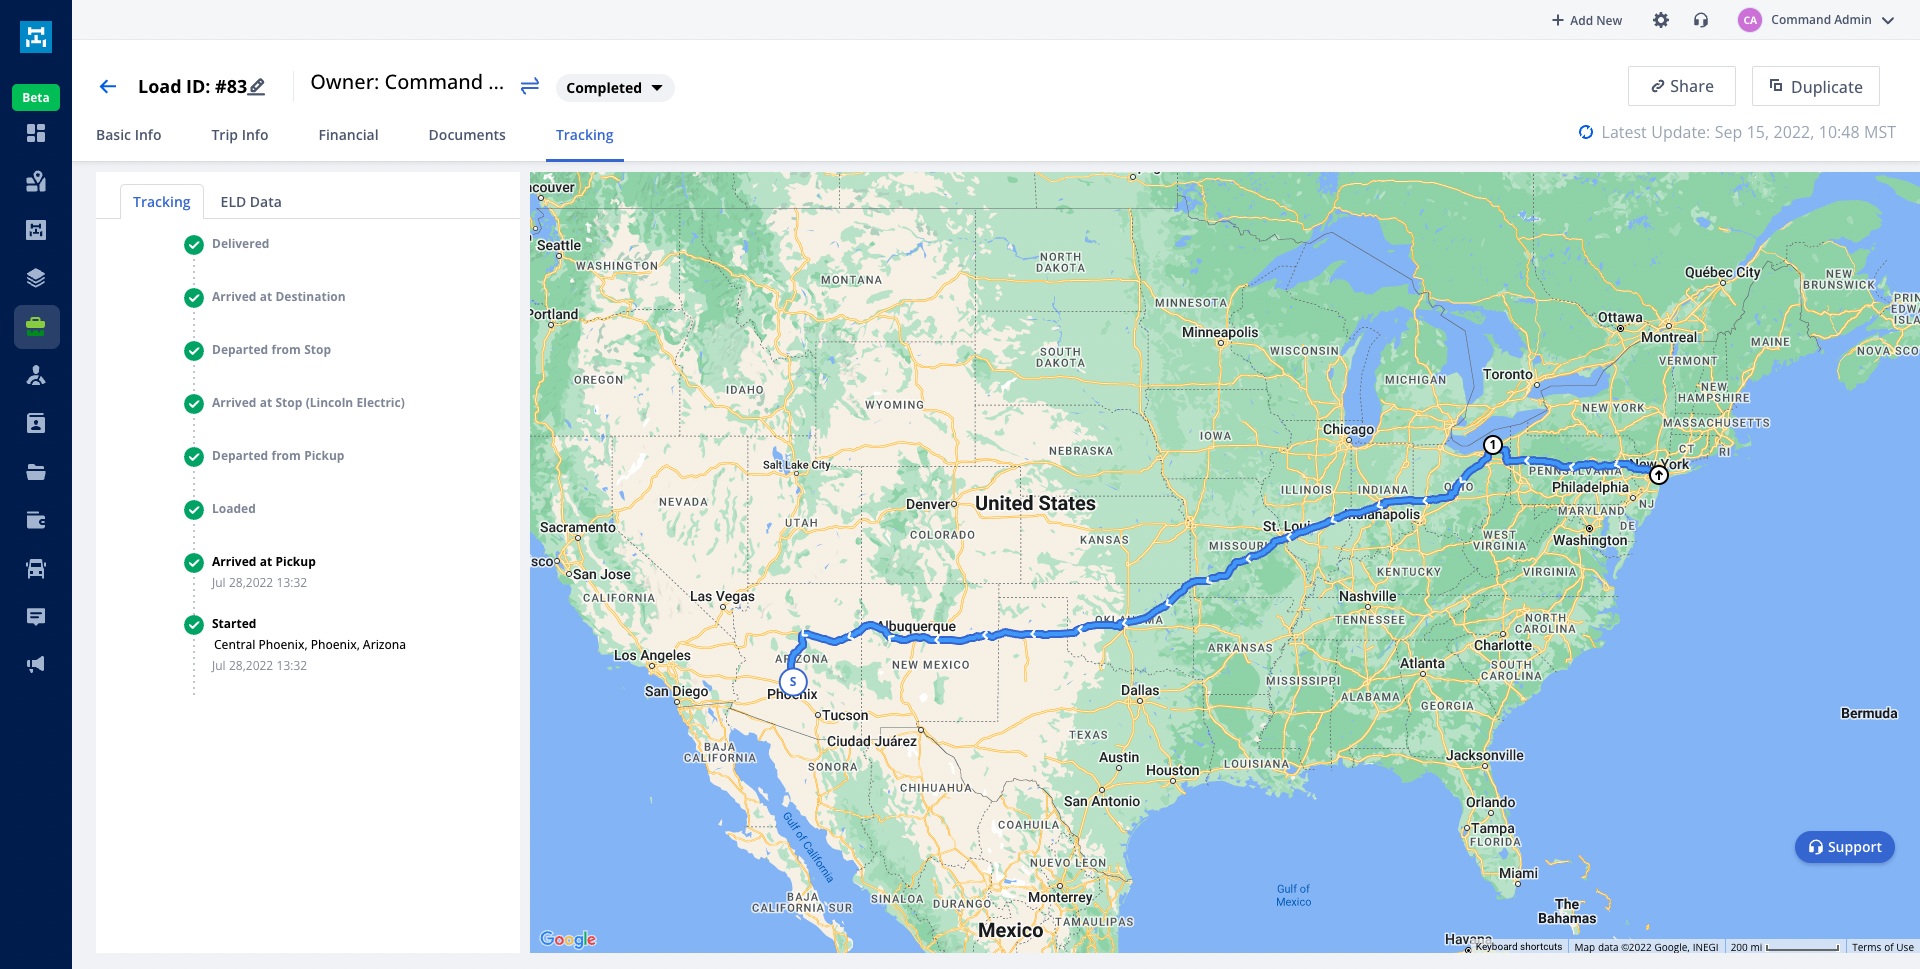
Tracking
The Tracking tab will show an overview of the trip with the load status updates. You can also click into the ELD Data to see locations with timestamps along the route.
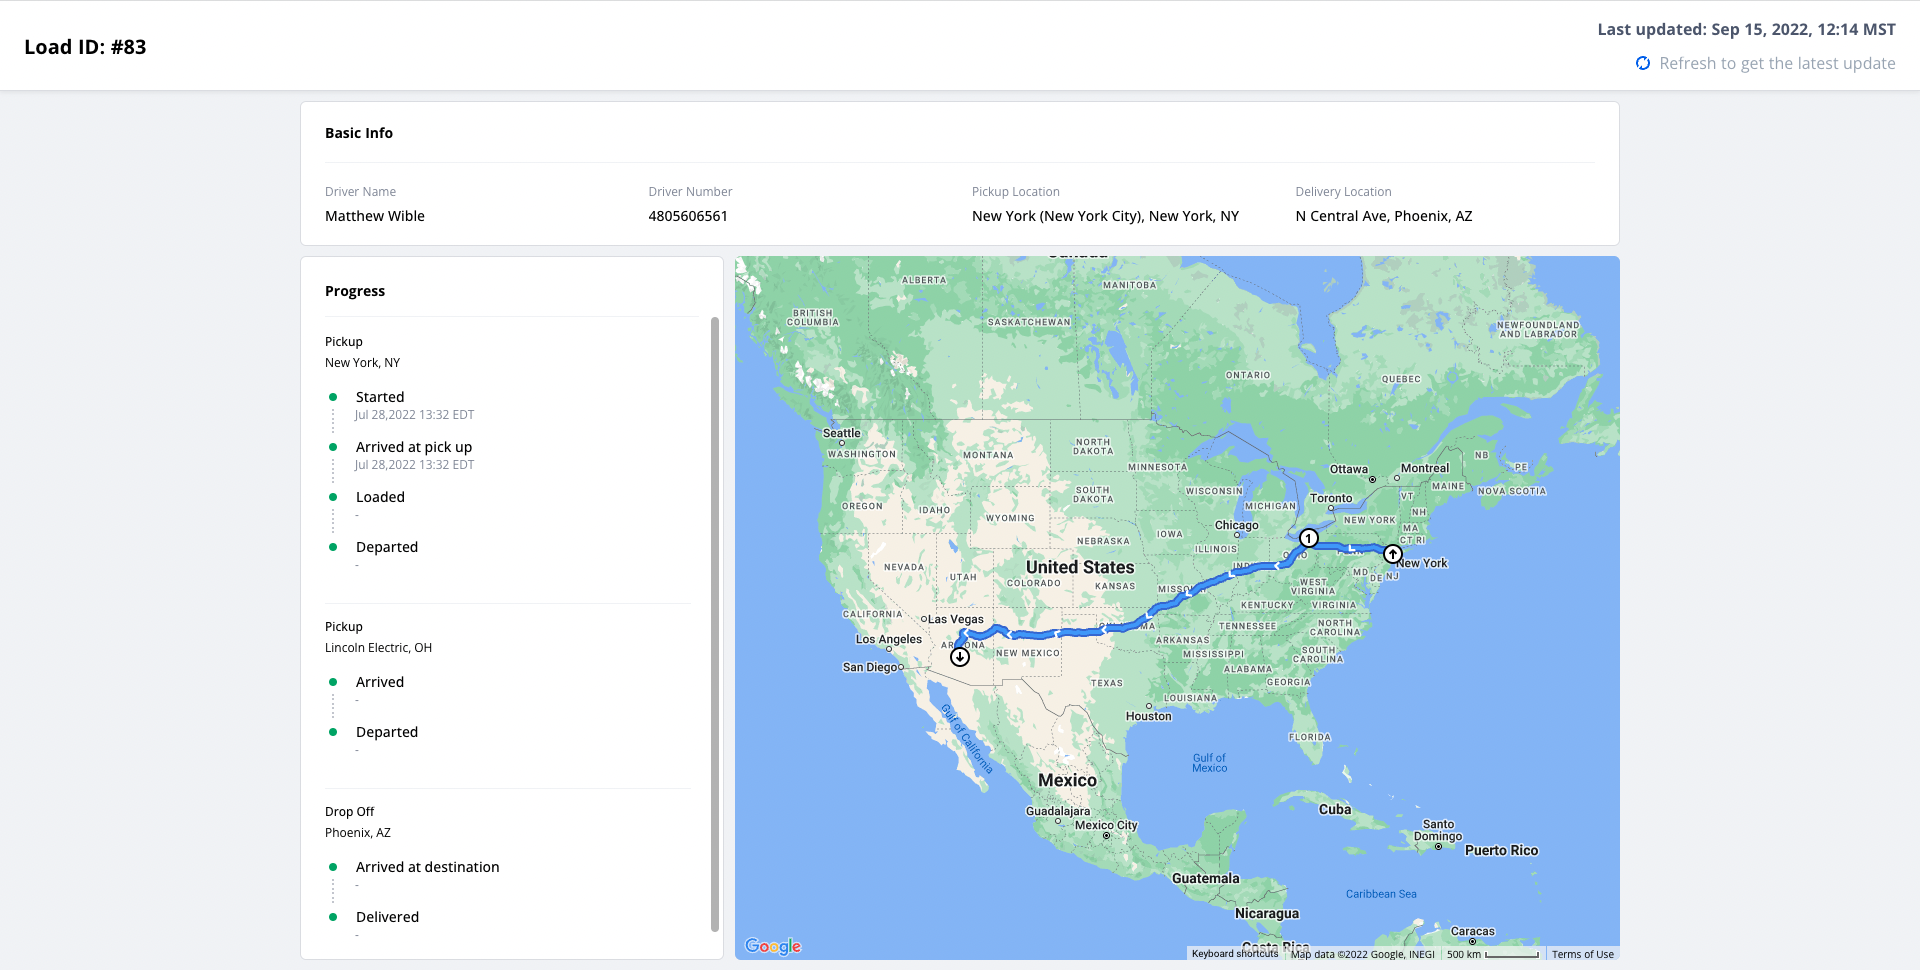
Load Status Sharing
Click the Share button in the upper right-hand corner to generate and copy a URL that you can send to share the driver's live location and trip information.

Add New Load
To add a new load, click on Add New Load in the upper right-hand corner of the screen.

Enter all pertinent load information (pick up, delivery, stops, as well as any documents) and a preview route will be displayed to give you an overview of the route.

Click Save and then the system will ask if you would like to assign a driver to this load from your list of available drivers.

Select the driver from the list and click Assign.
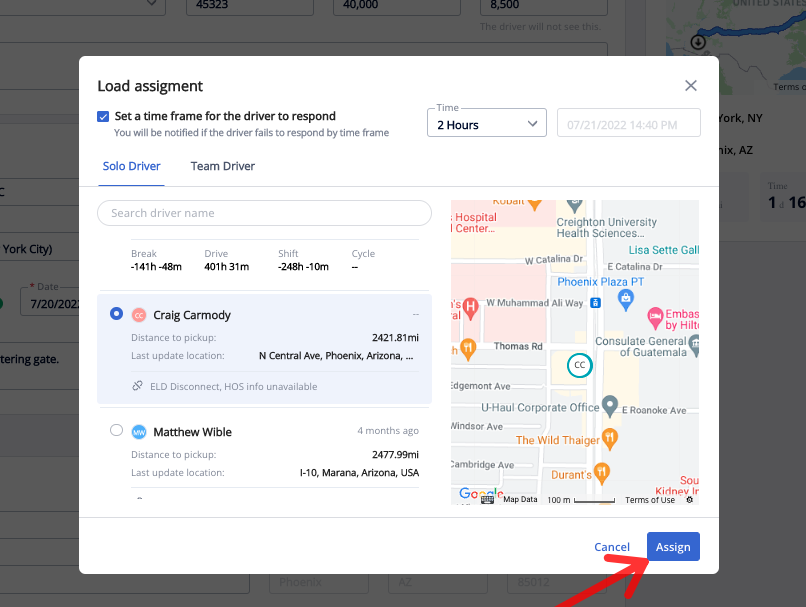
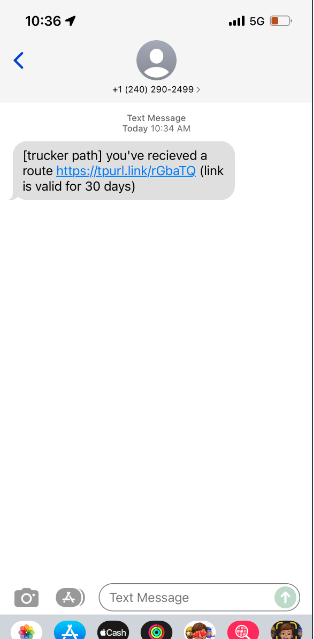
The driver will receive a text message as well as an in-app notification letting them know they have been assigned a new load with a link to access the load inside of the Trucker Path app.
Here is a quick video showing how you can create and dispatch loads to your drivers.
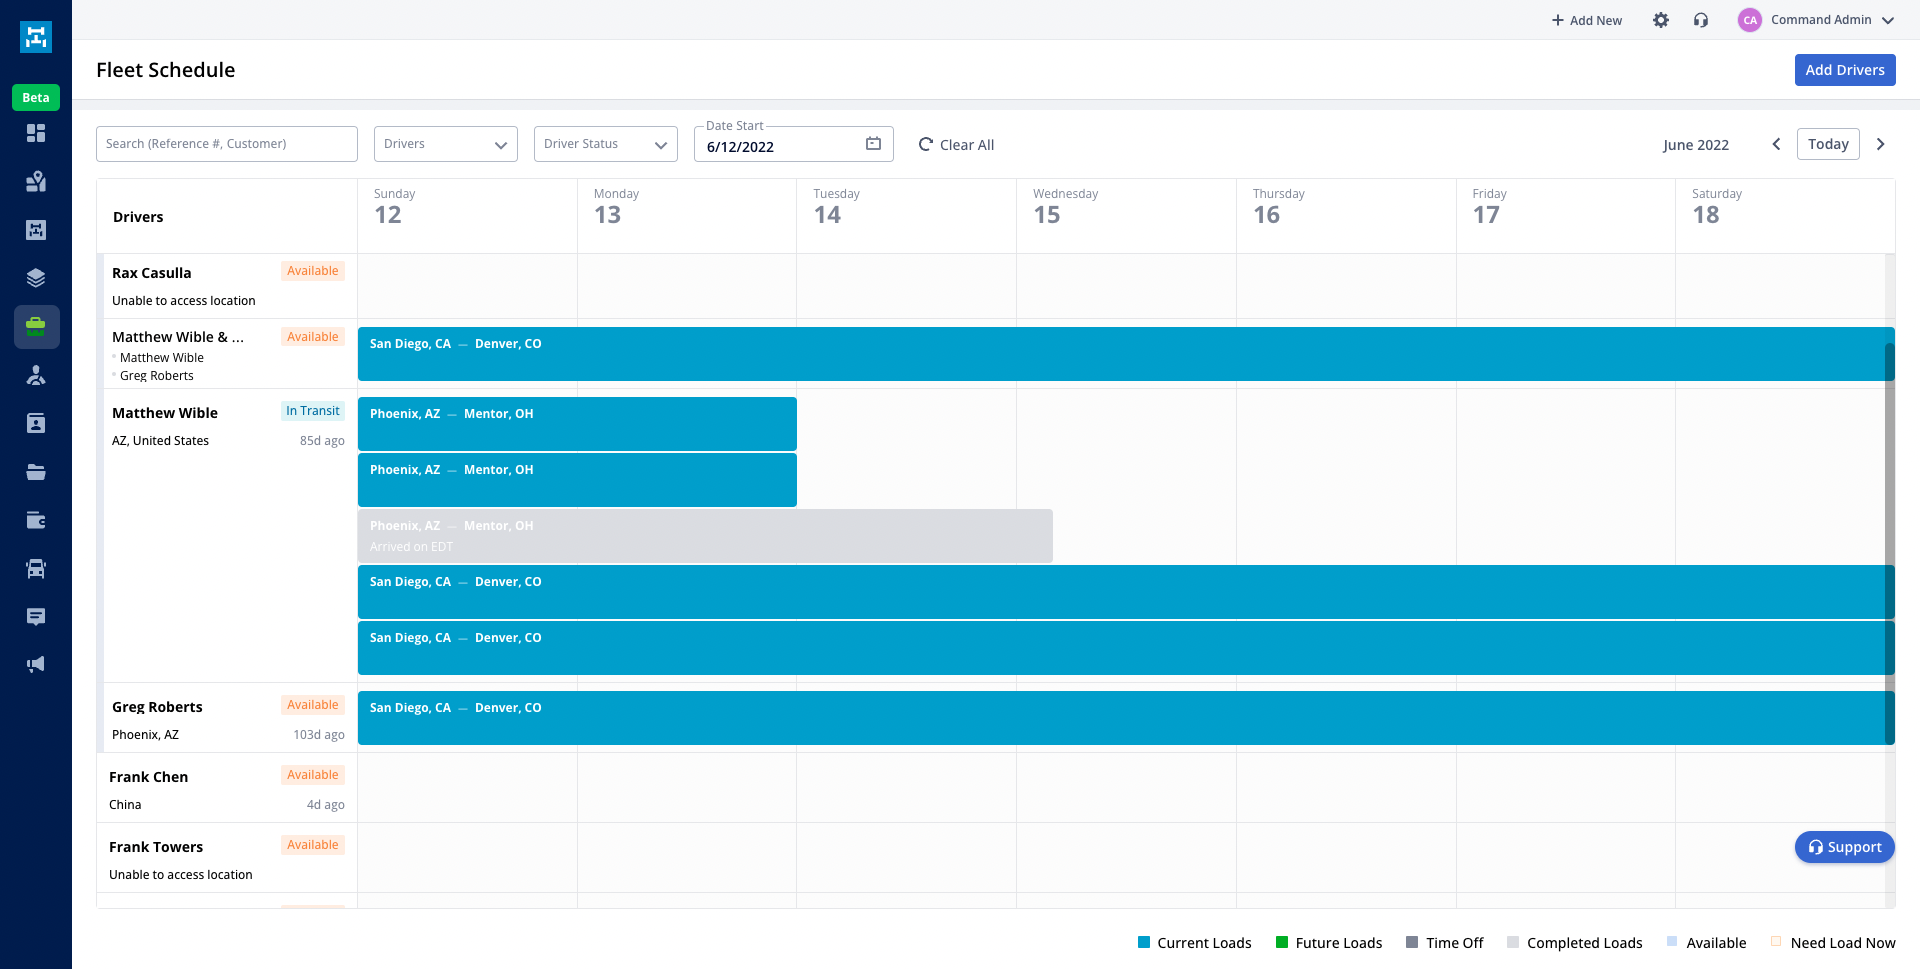
Fleet Schedule
Use the Fleet Schedule to get a better idea of when your drivers will be finished moving a load and assign new loads more effectively.
Questions?
If you have any questions regarding this topic or any others, please reach out to our Support Team via email at commandsupport@truckerpath.com orby phone at +1 (833) 929-4441.
Comments
Please sign in to leave a comment.